


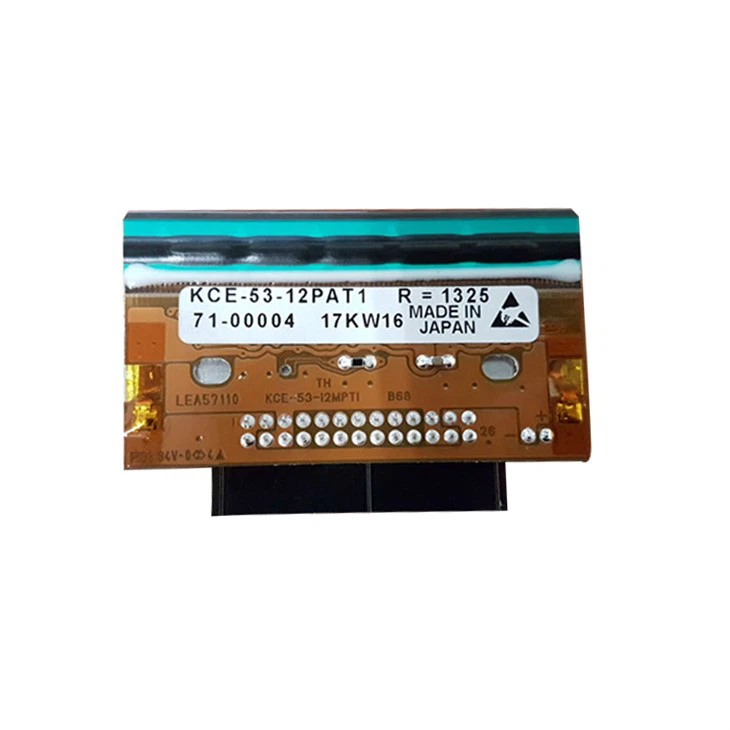
As a trusted supplier of Allen Coding printheads, I understand the importance of maintaining these high - performance devices to ensure optimal printing quality and longevity. In this blog post, I'll share comprehensive steps on how to clean the Allen Coding printhead, covering different models such as the Allen Coding KCE - 53 - 12PAT1 - AC1 Printhead and the Allen Coding KCE - 107 - 12PAT2 - AC Printhead.
Why Cleaning the Printhead is Crucial
Before delving into the cleaning process, it's essential to understand why regular cleaning is so important. Over time, ink residue, dust, and debris can accumulate on the printhead nozzles. This buildup can lead to clogged nozzles, which in turn cause inconsistent printing, missing characters, or poor print quality. By cleaning the printhead regularly, you can prevent these issues, extend the lifespan of the printhead, and ensure that your coding operations run smoothly.

Pre - cleaning Preparation
- Gather Necessary Tools: You'll need a few basic tools for the cleaning process. These include lint - free cleaning wipes, a cleaning solution recommended by Allen Coding (usually a specialized ink - dissolving fluid), a small syringe or pipette, and a pair of fine - tipped tweezers.
- Power Off the Printer: Always turn off the printer and unplug it from the power source before starting the cleaning process. This ensures your safety and prevents any electrical damage to the printhead.
- Remove the Printhead: Carefully remove the printhead from the printer according to the manufacturer's instructions. Different models may have different removal procedures, so refer to the user manual for your specific Allen Coding printhead.
Cleaning the Printhead
- External Cleaning: Start by gently wiping the exterior of the printhead with a lint - free cleaning wipe dampened with the cleaning solution. This removes any dust, ink splatters, or debris on the surface. Be careful not to apply too much pressure, as this could damage the delicate components of the printhead.
- Nozzle Cleaning: The nozzles are the most critical part of the printhead, and they require special attention. Dip a lint - free wipe into the cleaning solution and carefully place it over the nozzle plate. Let it sit for a few minutes to allow the solution to dissolve the ink residue. Then, use a small syringe or pipette to apply a small amount of the cleaning solution directly onto the nozzles. Gently blow through the syringe or pipette to help flush out any clogged ink.
- Using Tweezers: If there are any stubborn particles or dried ink that cannot be removed by the above methods, you can use fine - tipped tweezers to carefully remove them. However, be extremely cautious not to damage the nozzles or other components of the printhead.
- Ultrasonic Cleaning (Optional): For more thorough cleaning, especially for heavily clogged printheads, you can use an ultrasonic cleaner. Fill the ultrasonic cleaner with the recommended cleaning solution and place the printhead in it. Set the cleaner to the appropriate settings and let it run for a few minutes. After ultrasonic cleaning, rinse the printhead with clean water and dry it thoroughly with a lint - free wipe.
Drying and Reinstalling the Printhead
- Drying: After cleaning, it's crucial to dry the printhead completely before reinstalling it. Use a dry lint - free wipe to remove any excess moisture from the printhead. You can also let it air - dry for a few minutes in a clean, dust - free environment.
- Reinstalling: Once the printhead is dry, carefully reinstall it into the printer according to the manufacturer's instructions. Make sure it is properly seated and connected to the printer.
Post - cleaning Testing
After reinstalling the printhead, power on the printer and run a test print. Check the print quality to ensure that the cleaning process was successful. If the print quality is still not satisfactory, you may need to repeat the cleaning process or contact our technical support team for further assistance.
Maintenance Tips for Long - term Performance
- Regular Cleaning Schedule: Establish a regular cleaning schedule for your Allen Coding printhead. Depending on your usage, this could be weekly, bi - weekly, or monthly. Regular cleaning helps prevent ink buildup and ensures consistent print quality.
- Use High - Quality Ink: Always use high - quality ink recommended by Allen Coding. Low - quality ink can contain impurities that may clog the printhead more easily.
- Keep the Printer Environment Clean: A clean working environment can also help reduce the amount of dust and debris that reaches the printhead. Keep the printer area clean and free from excessive dust, and use a dust cover when the printer is not in use.
Contact Us for Your Printhead Needs
If you have any questions about cleaning your Allen Coding printhead or if you're interested in purchasing a new printhead, we're here to help. Our team of experts has extensive knowledge of Allen Coding products and can provide you with the best advice and support. Whether you need a Allen Coding KCE - 53 - 12PAT1 - AC1 Printhead or a Allen Coding KCE - 107 - 12PAT2 - AC Printhead, we can offer you high - quality products at competitive prices. Contact us today to discuss your requirements and start a productive business relationship.
References
- Allen Coding User Manuals
- Industry Best Practices for Printhead Maintenance


